Please use the following search box to quickly locate valuable FAQ support guide.
You can use key words or full statement to search by. Alternatively you can simply browse by Category belowNOTICE: Due to End Of Support by Microsoft of Windows 7 as of Jan 14, 2020 and Microsoft MSSQL Server - Easydent4 / Ez3D Plus is no longer under support.
How to Install or Update Easydent4 for Workstations.
Note: Do not modify the Capture PC or Server* where the database is located at, consult with Vatech Support for that system to ensure retention and proper installation as Easydent4 directly handles the Database and File Data*
ProTip: Improper installation or updating of the capture PC / Server where database is located could result in data loss!
Determine the proper version
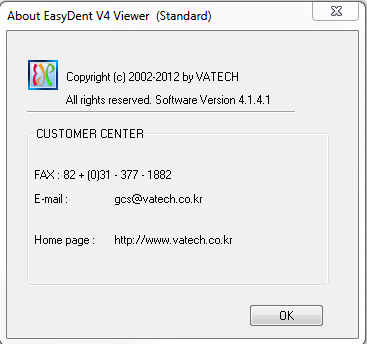
To determine what version of Easydent4 open Easydent4 on a working station:

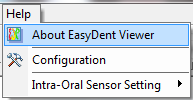
Click 'Help'

Click 'About'
Locate the Software Version X.X.X.X
Download the Installation Files
Download the appropriate version, click here: Download Link
Updating Existing Easydent4
Run the downloaded installation files from the preivous section, to update an existing station, you will be prompted to run as an update. Certain versions might not be compatible for update to latest version asking that you uninstall first, simply follow the propts to uninstall then re-run the installation setup wizard to finish the setup to latest version.
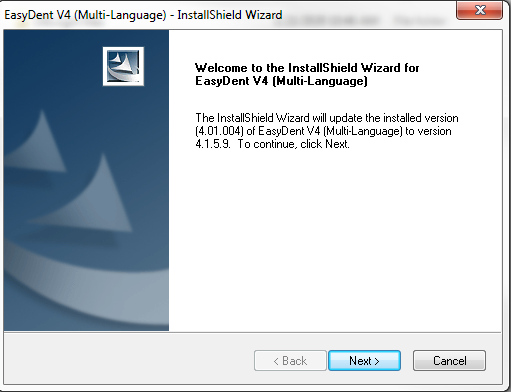
Click 'Next' and the update will start.
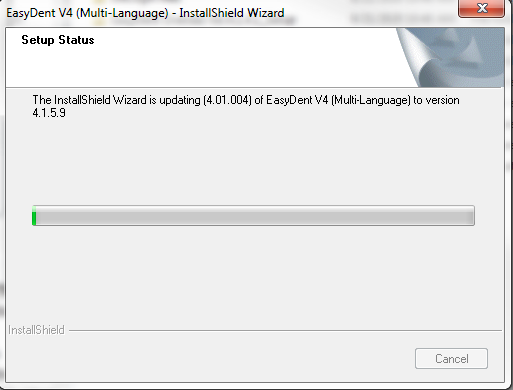
Once the update is finsihed; click Finish.
Installation of Easydent4
Run the downloaded installation files from the preivous section. Choose "For Basic, or CD Dicom Burning" either choice is proper and click next.
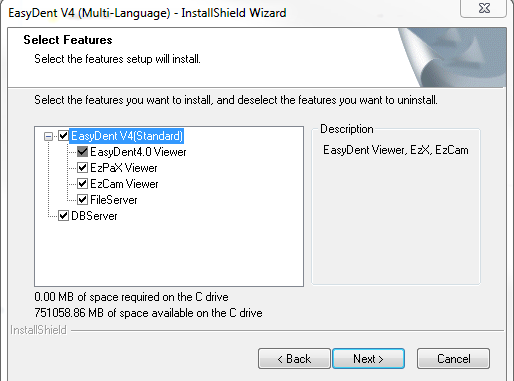
On the Select Features step, for workstations uncheck the 'File Server' and 'DB Server' options as they are not needed.
Clinic 'Next' and the installation will start.
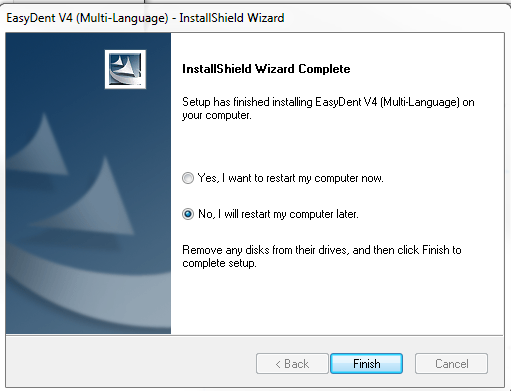
Once finished Choose 'No, I will restart my computer later' and click 'Finish'
Configure Easydent4 to connect to File Server
When Running Easydent4 for the first time it should prompt you with the following notification; Click 'OK'
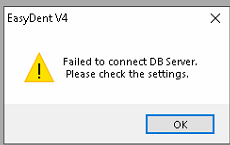
Click the 'Remote Host' icon on both the DB Server IP and File Server IP, to enter the IP information. Once done click Apply
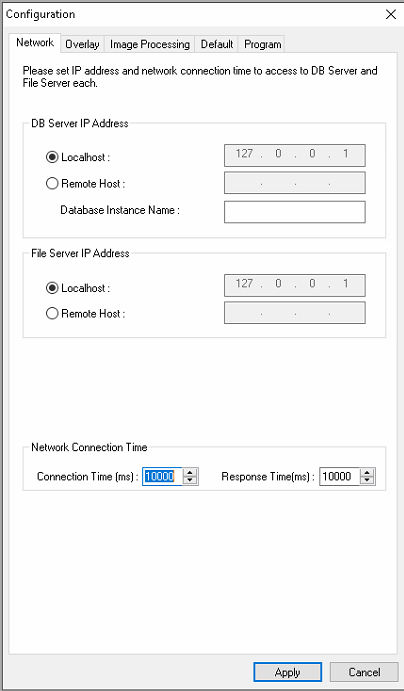
Note: If for any reason the prompt does not work or connect; you can manually enter the IP information in the INI's as shown below.
Configuration via Net.ini File
To connect to the server location you will need to configure the Net.ini IP information.
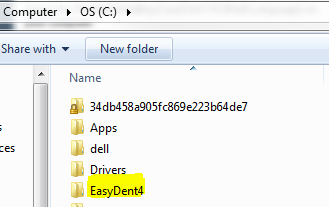
Open 'This PC' and Browse to the C:Easydent4 directory.
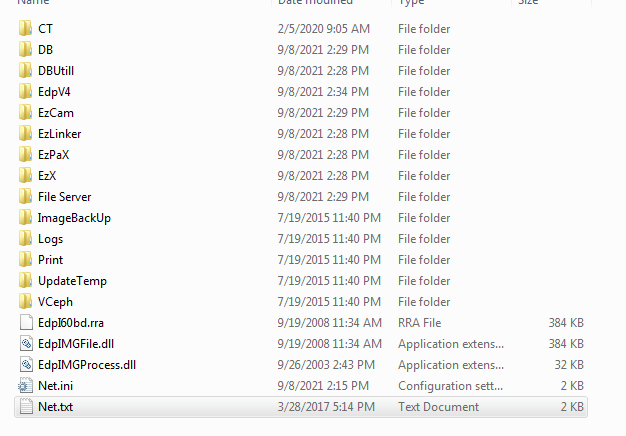
Now locate the 'Net.ini' file and open.
Once you have the Net.ini open, locate the following IP Addresses as shown below, you will edit each line to the IP of where the database/Fileserver is located.
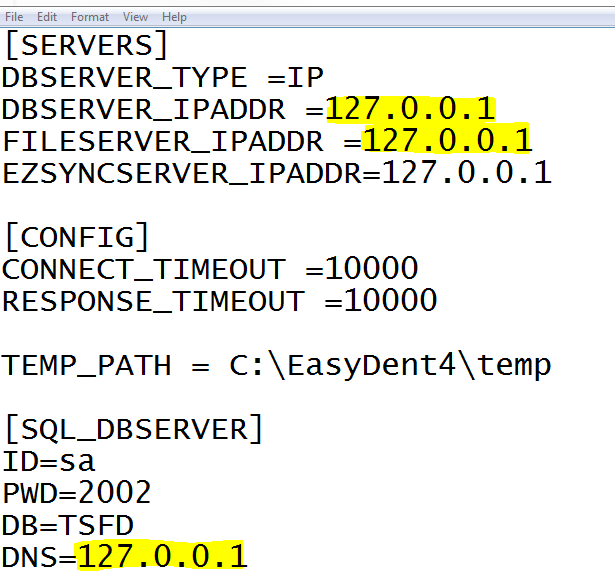
Click Save and Exit.