Please use the following search box to quickly locate valuable FAQ support guide.
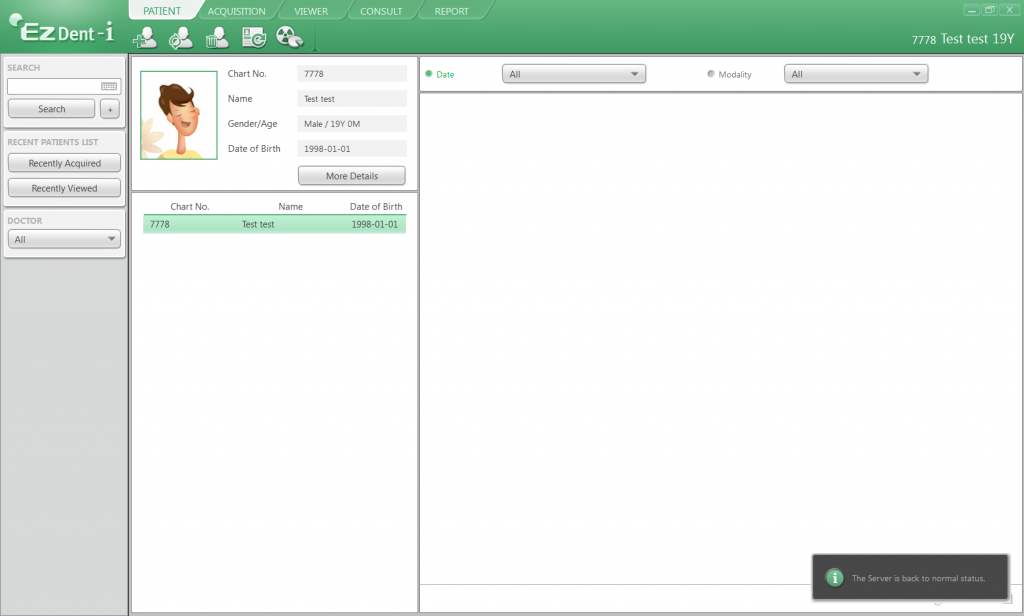
You can use key words or full statement to search by. Alternatively you can simply browse by Category belowFirst you will want to have the Scan saved locally to file; for this guide we will use the folder named "CT Import" located on the desktop. Next open EzDent-i and pull up the patient to save the image to; if not already entered enter it now.
Now you will want to select the "Acquisition" Tab as shown below; Select the "Import" button and under Modality drop down choose CT as shown below.
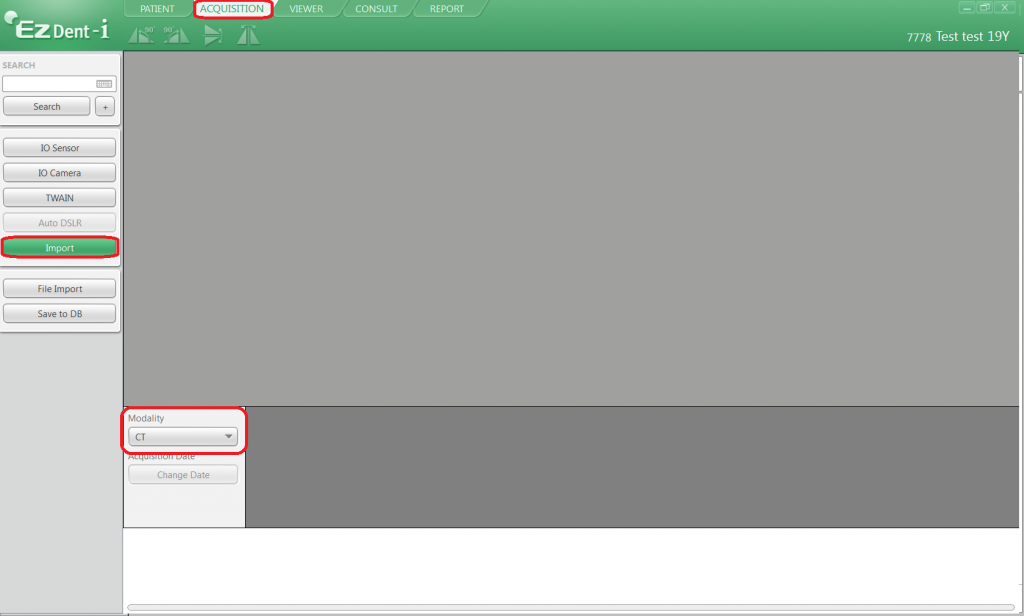
Once you have selected CT modality - you will need to click the "File Import" button on the left hand side.
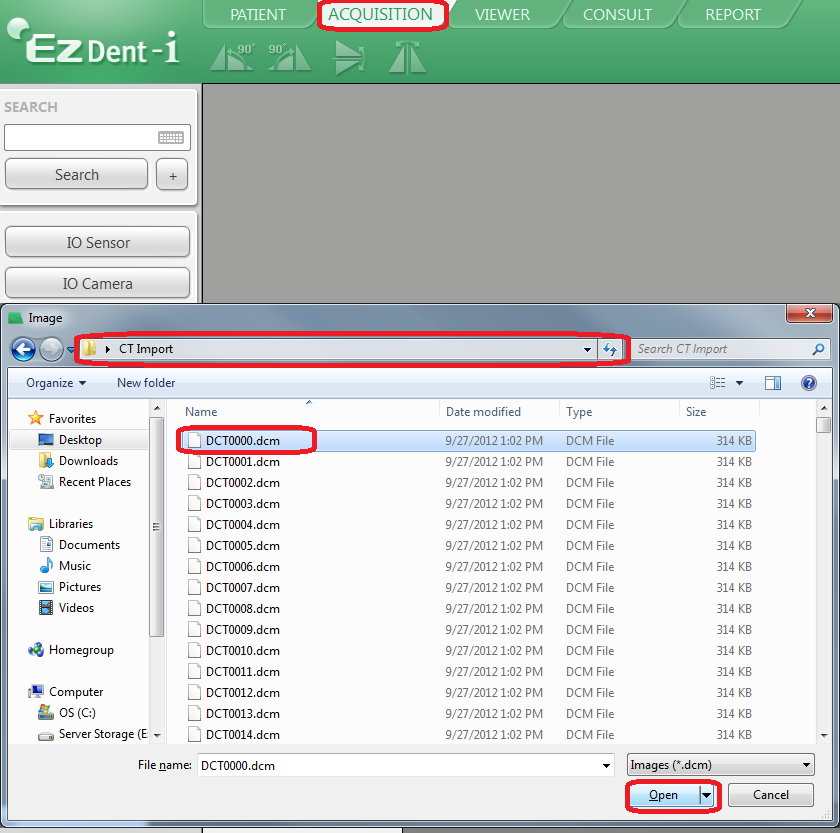
Now you will get a Windows browser window open; you will want to browse to the location where the CT image files are located; as previously noted; we used the folder on the Desktop "CT Import" so we have browsed to this location in the drop down menu as shown below.
Once there select the first Dicom file; in this case the name is "DCT000.dcm".(your file names you see might vary depending on manufacture)
Once selected; click the "Open" button as shown below.
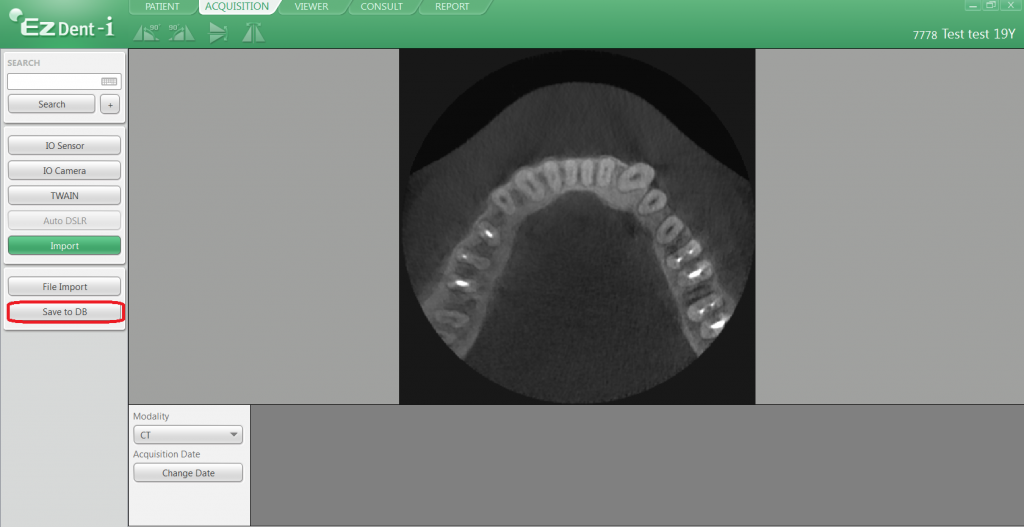
Now you should have a preview of the CT image; click "Save to DB" button as shown below.
Note: Please note you might not see the same arch image depending on the FOV of the image you may only see a black image.
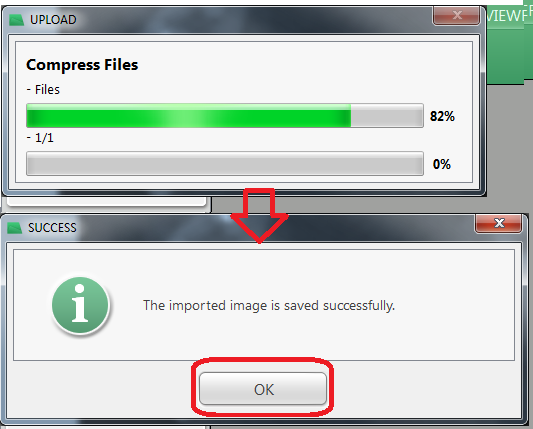
Once saving starts you will have Progress bar as indicated in the UPLOAD window, please do not exit the program or turn off the PC while saving is underway. Once done you will have Sucess window appear indicated it has saved successfully.
Click OK. The image is now saved under the patient chart.
You will now be able to to return to the patient chart and open the scan. Please note that if it does not open or show you the actual image some manufactures use different Dicom language. In those limited cases we recommend that you use the native viewer that was provided by the referring office.